Answer first
A distributor is not a generic part. Its advance curve is engineered for one specific engine, and a low-grade, uncalibrated reproduction with the wrong curve will make a healthy car overheat, run poorly and lose power, while every other component tests fine. Fitting a properly rebuilt, correctly calibrated Lucas distributor transforms the car.
This article is about the quality of the part, not the country it came from. Good and bad examples exist from every source, and failing parts have appeared inside branded packaging. What matters is whether the internals have been calibrated to your engine.
What the distributor actually does
The distributor does two jobs at once. It distributes the high-tension spark to each cylinder in turn, the job the name describes, and it decides when the spark happens. The second job is by far the more important, and the one that goes wrong quietly.
Two mechanisms control the timing:
- The centrifugal advance, a pair of bob-weights held by small springs on the shaft. As revs rise the weights fly outwards against the springs and rotate a cam inside the distributor, advancing the moment the points open.
- The vacuum capsule, a diaphragm connected to the inlet manifold. Under light load, when manifold vacuum is high, the diaphragm pulls the points plate round to advance the timing further for economy and clean part-throttle running.
The critical point is why the spark has to keep moving earlier as revs rise. The fuel and air mixture takes a broadly fixed time to burn, around a couple of milliseconds, while the piston is moving progressively faster. To have peak combustion pressure arrive at the same crank position every time (a little after top dead centre, where it can push most effectively on the crankshaft), the spark has to be lit progressively earlier before top dead centre as engine speed rises. That progressive lighting-earlier, plotted against rpm, is the advance curve.
Why the advance curve is engine-specific
The shape of the curve is fixed by the hardware inside the distributor: the mass of the bob-weights, the rate of the two little springs that restrain them, and the profile of the cam that translates their swing into shaft rotation. Each of those was chosen during development for one specific engine, for its compression ratio, its combustion chamber shape, its camshaft timing and the petrol it was designed to run on.
Change any of those variables and the curve should change with them. That is why a genuine Lucas distributor for a low-compression XPAG is not the same distributor as one for a high-compression XPAG, even though the castings look identical and the part numbers are close cousins.
Two distributors can look outwardly identical, carry the same part number stamped in the same place, and bolt into the same block, yet deliver completely different amounts of advance at a given rpm. A distributor that fits is not the same as a distributor that is right.
How the wrong curve causes overheating
This is the mechanism that proves the case, and it is worth taking slowly.
Combustion in a T-Series engine occupies roughly 80 degrees of crank rotation from the moment the spark jumps to the moment the last of the charge has burned. On a healthy engine with the correct advance, peak pressure develops with the piston just past top dead centre and pushes hard on the crank all the way down the power stroke. By the time the exhaust valve opens, the burn is essentially finished and the gas leaving the cylinder has already given up most of its energy to the crankshaft.
Now retard the ignition, either because static timing is wrong, or, far more insidiously, because a lazy or wrong advance curve is not lighting the mixture early enough as revs rise. Combustion still takes the same time, but now it is late. The charge is still burning as the piston is well down the bore, and, crucially, it is still burning at the moment the exhaust valve opens.
Two things happen at once, and both are bad:
- Very hot, still-burning gas is dumped straight into the exhaust port rather than doing useful work against the piston. Exhaust valve, valve seat, port, and manifold temperatures rise sharply. In extreme cases the exhaust manifold visibly glows.
- The surrounding water jacket has to absorb heat that was never designed to be there. The cooling system, which was sized for an engine whose combustion finishes on time, is suddenly asked to carry away a large extra thermal load coming through the head casting from the port area.
Because the energy is going out of the exhaust rather than into the crankshaft, the driver simultaneously experiences overheating and a marked loss of power and economy. That combination, hot and gutless, is the classic signature of a wrong or lazy advance curve.
For balance: excessively advanced timing can also overheat an engine, but it does so far more slowly and usually announces itself first with pinking under load, kickback on the starter, or hard hot starting. Retarded or insufficient advance is quieter and quicker, which is why it so often gets misdiagnosed as a cooling-system fault.
The practical point is blunt. Owners chase overheating with new radiators, water pumps, fans and exotic coolants for years, when the real culprit is a distributor that never advances correctly. Always prove the ignition before spending money on cooling. See Keeping the MG T-Series Cool for the diagnostic order to follow.
The reproduction problem
The classic-car market is now flooded with reproduction distributors sold as replacements for original Lucas units. The quality varies wildly, and specialist rebuilders have said publicly that in most low-grade examples neither the advance curves nor the vacuum characteristics of these units bear any real relationship to the vehicles they are sold as suiting.
They look convincing. The casting is broadly right, the cap is the right shape, the part number is the right part number, and the whole thing bolts straight into the block. Under the rotor, however, the weights, springs and cam may be whatever the factory had on the shelf that week. Fitted to a healthy engine, the car will start, run, drive out of the workshop and disappoint the owner for the next five years.
This is not an argument against every reproduction. A budget reproduction or a modern electronic replacement distributor can be a perfectly sensible choice where an original core is genuinely beyond economic repair, and a handful of suppliers do a decent, properly calibrated job. The problem is specifically the uncalibrated copy sold as an exact equivalent when its internals are nothing of the sort. Judge the supplier, not the price tag, and ask outright whether the unit has been curved and bench-tested.
Points, condensers and rotor arms
The same quality problem affects the small consumable parts, and it is well documented rather than mere prejudice.
- Rotor arms. Some modern mouldings use a plastic mix with a higher carbon-black content than the original. Carbon black is mildly conductive, and enough of it turns the rotor body from an insulator into a leaky resistor. The spark tracks to earth through the rotor rather than jumping the gap to the plug electrode, and the engine misfires or refuses to start. Separately, on many copies the rivet securing the brass inlay is slightly longer than the original and sits too close to the spring clip inside the cap. Owners have been stranded with rotor arms only a few miles old, and the problem affects Lucas-equipped cars from the 1930s onwards.
- Condensers. A failing or mismatched condenser lets the points arc as they open. The arc burns and pits the contact faces rapidly, destabilises the spark and produces the classic "runs fine until it gets hot, then misfires or stops" fault. A cold condenser can hide a marginal one for weeks.
- Points. Poor-quality contact sets wear and pit quickly and will not hold a dwell setting for long. Good-quality points last for years. Note that incorrect dwell also matters at the coil: too little dwell gives a weak spark, too much cooks the coil.
The practical advice is simple. Buy ignition consumables from a reputable specialist who sources known-quality parts, keep a spare rotor arm, condenser and points set in the car, and treat "brand new in the box" as no guarantee of quality.
Worn distributors and timing scatter
Even a genuine Lucas unit wears out. The shaft runs in two bronze bushes. When those bushes are worn the shaft can move sideways, and the cam that opens the points sits a fraction off centre on every revolution. The result is timing scatter: the points open at a slightly different moment each cycle, the spark is not delivered at a consistent crank angle, and the engine idles unevenly and gives inconsistent strobe readings that no amount of adjustment will cure.
Seized or gummed centrifugal weights, tired springs and a perished vacuum diaphragm have the same practical effect as a wrong curve: the advance simply never arrives on the road.
Two quick checks before condemning anything:
- Shaft side-play. With the cap off, grip the rotor and rock it sideways. Barely perceptible movement is acceptable; anything you can feel is worn bushes.
- Spring-back. Twist the rotor gently against the springs and let go. It should move against clear resistance and snap back cleanly. Stiff, gritty or reluctant movement means the weights are not going to give you the advance you paid for.
Owner case study, a real-world example
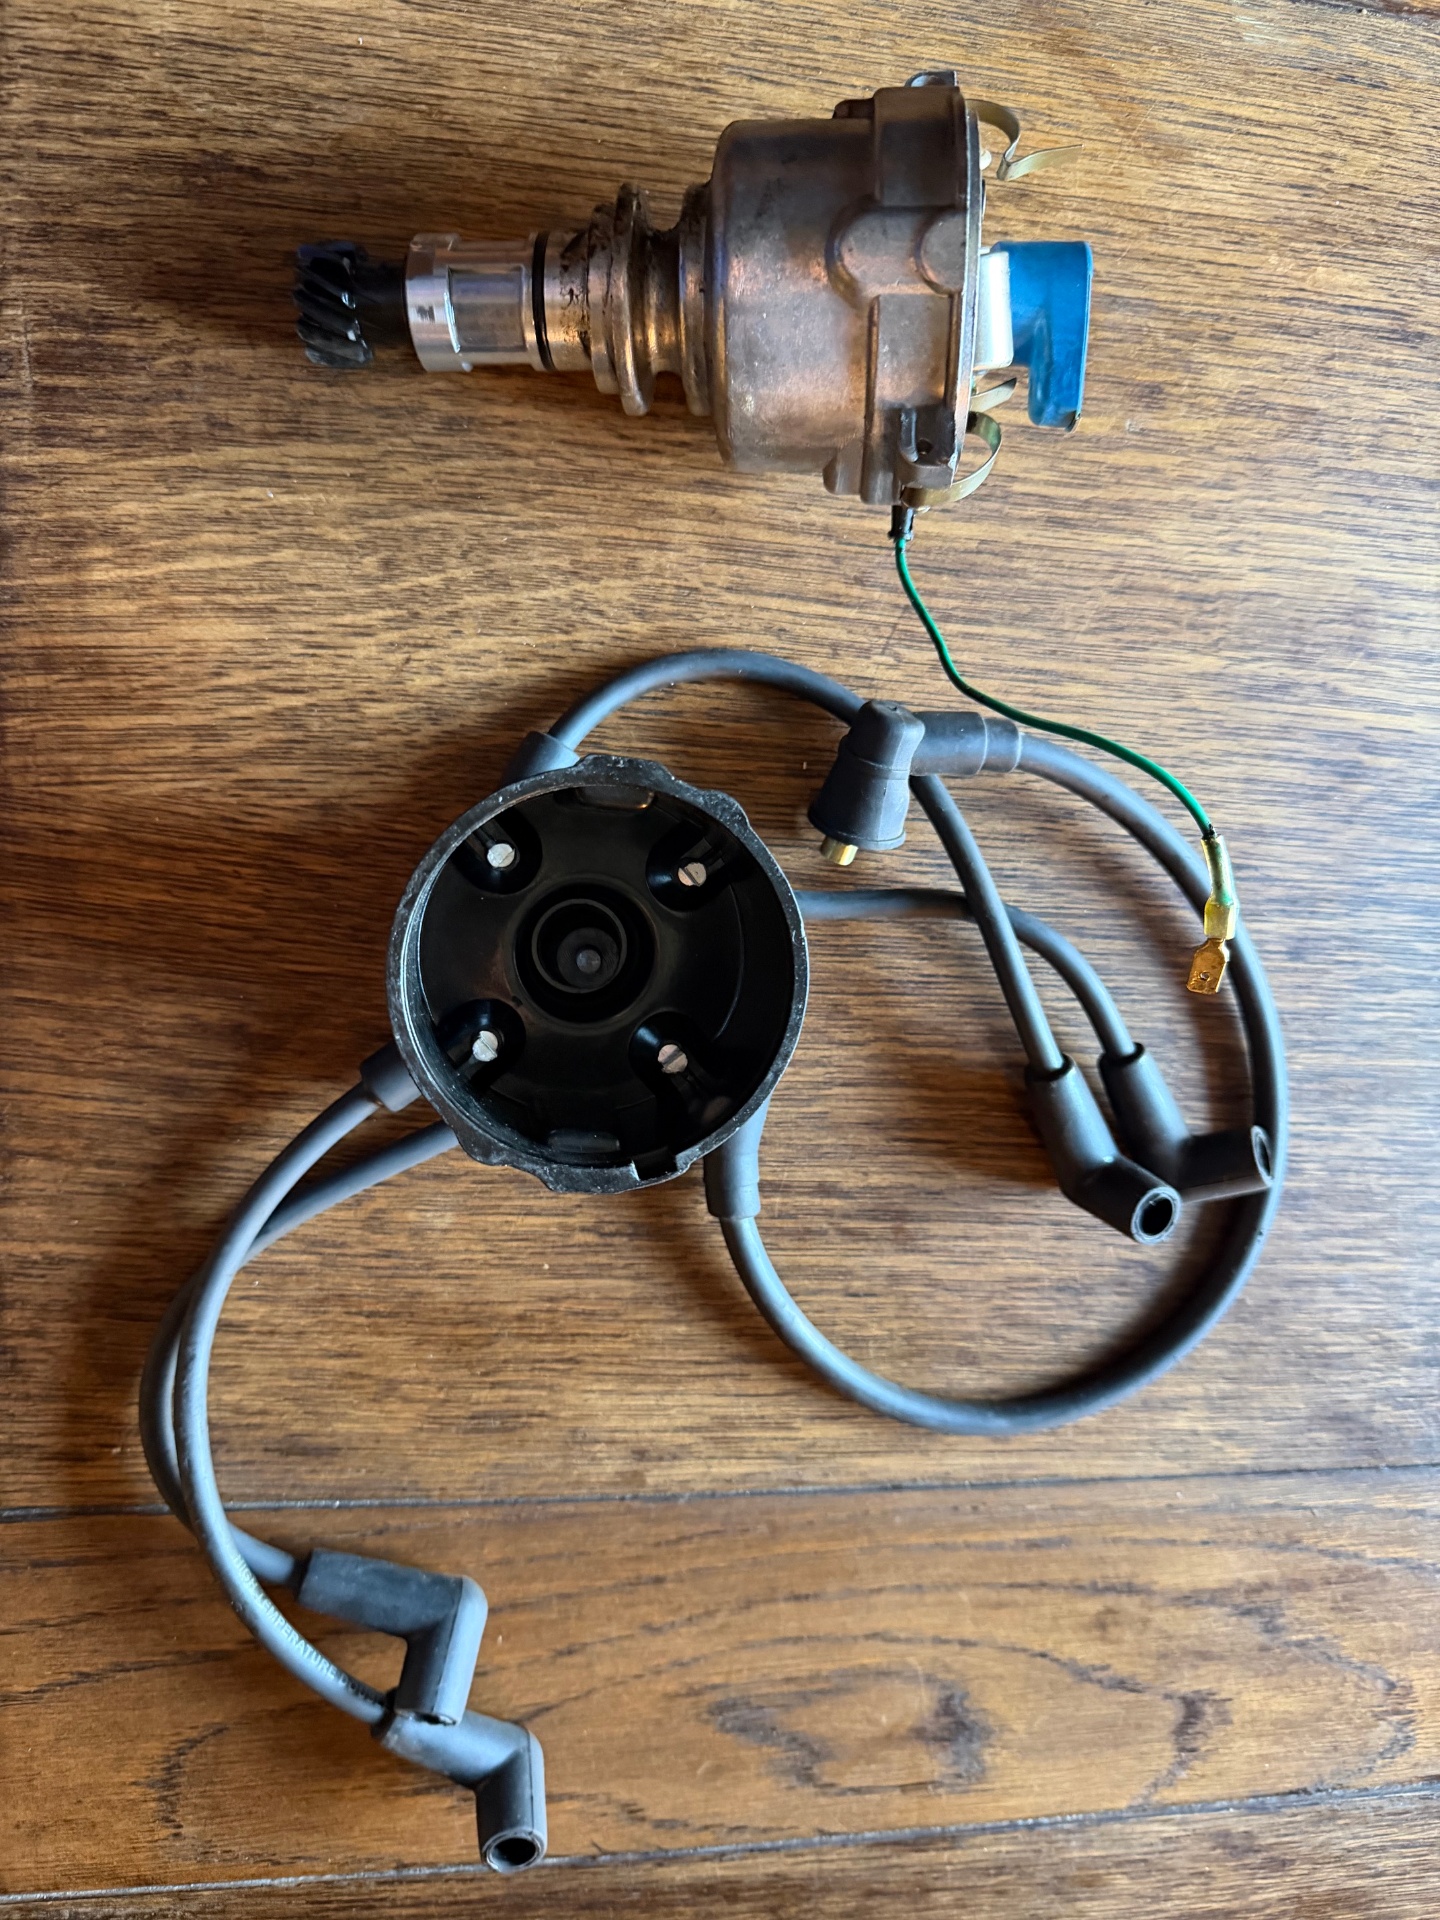
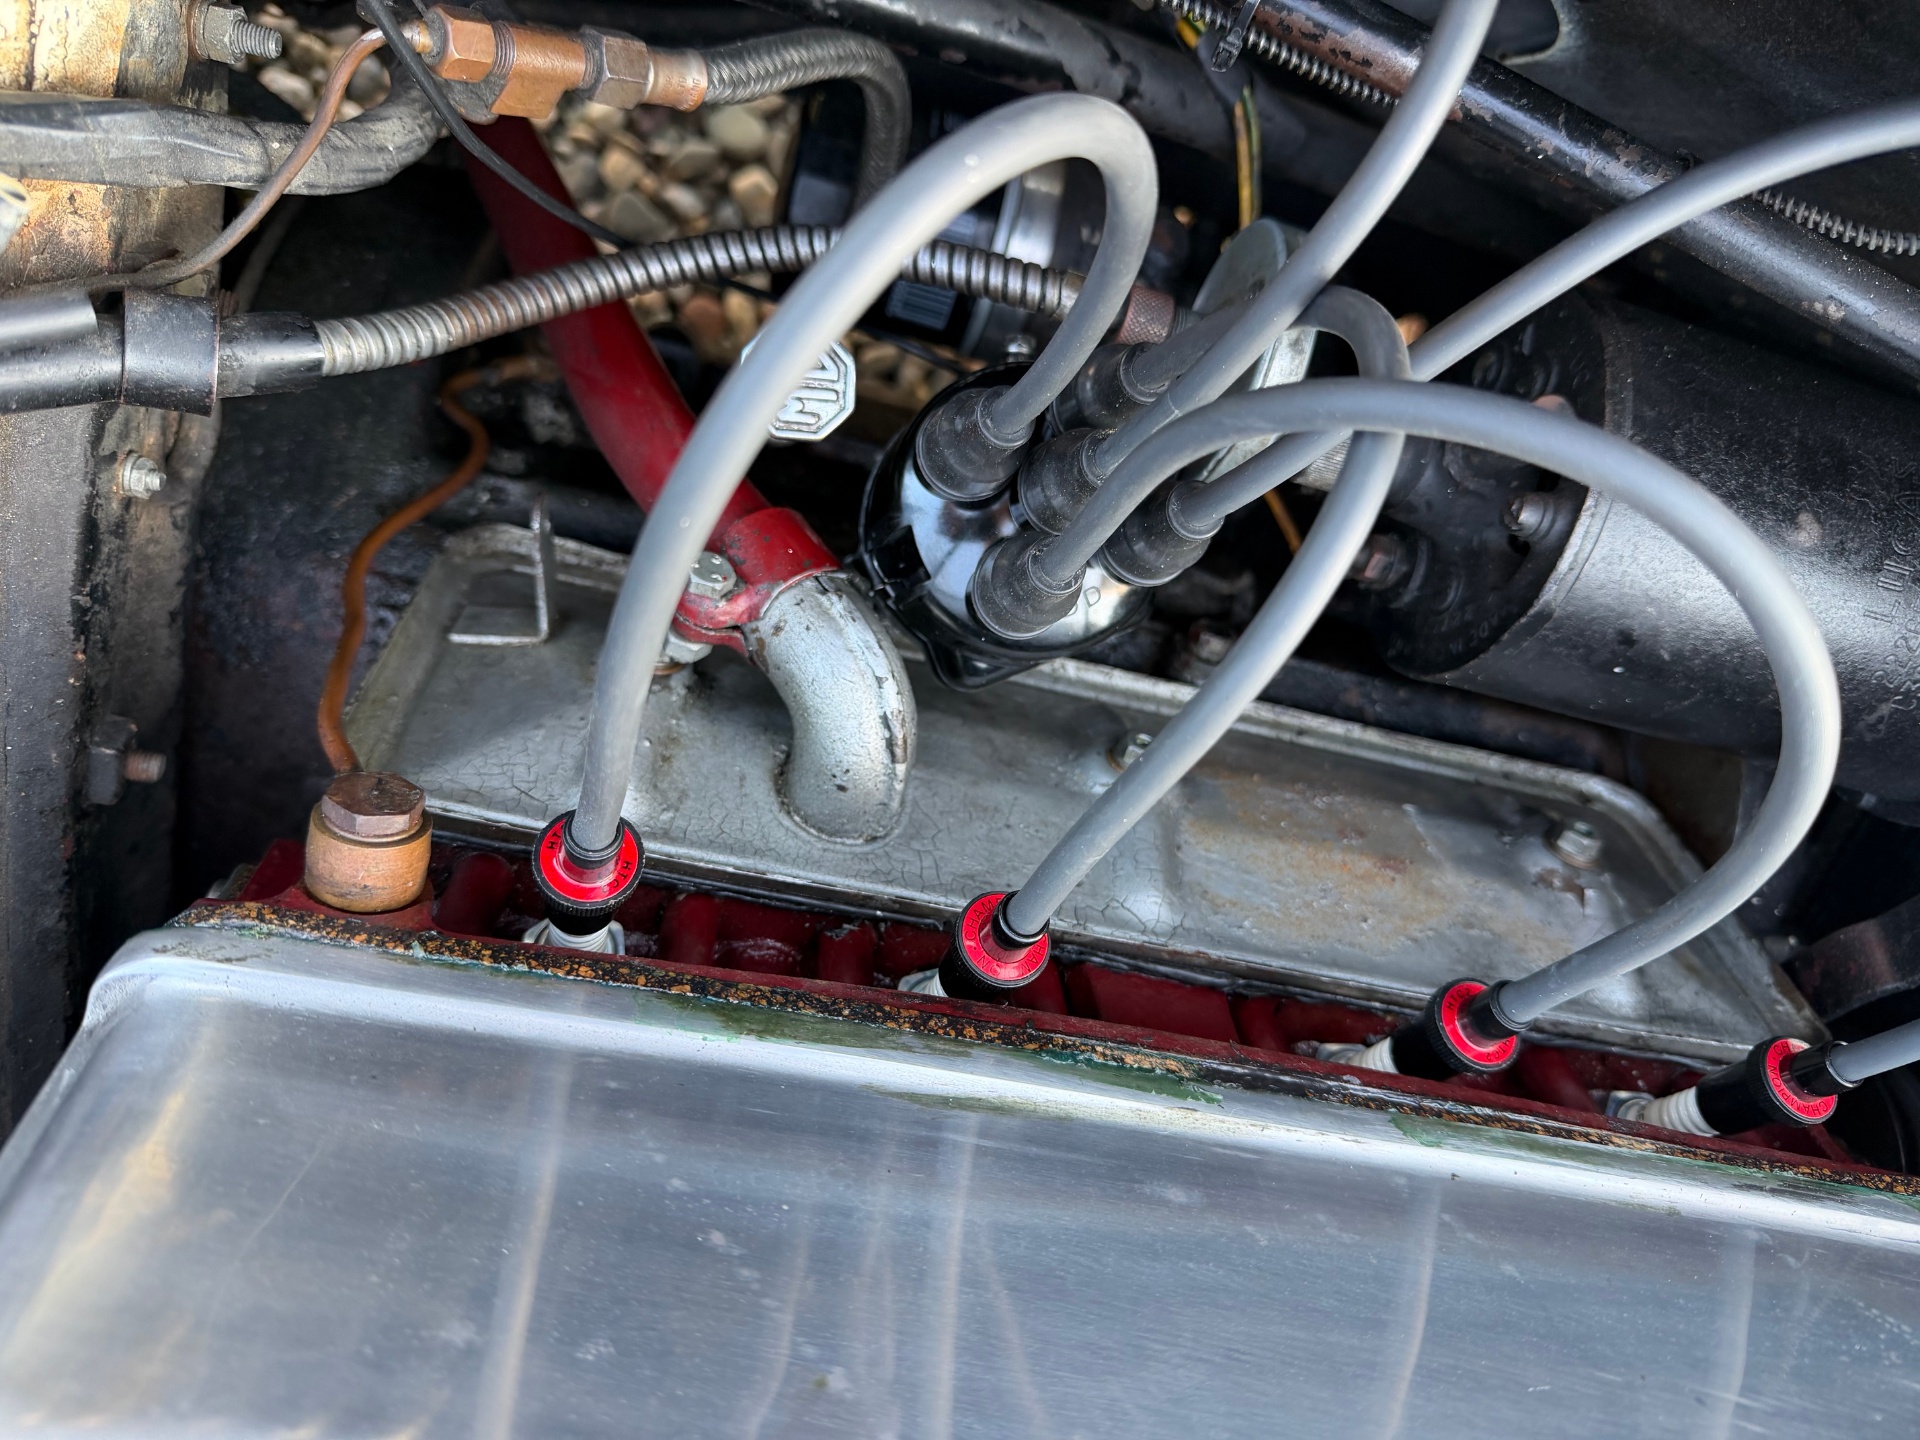
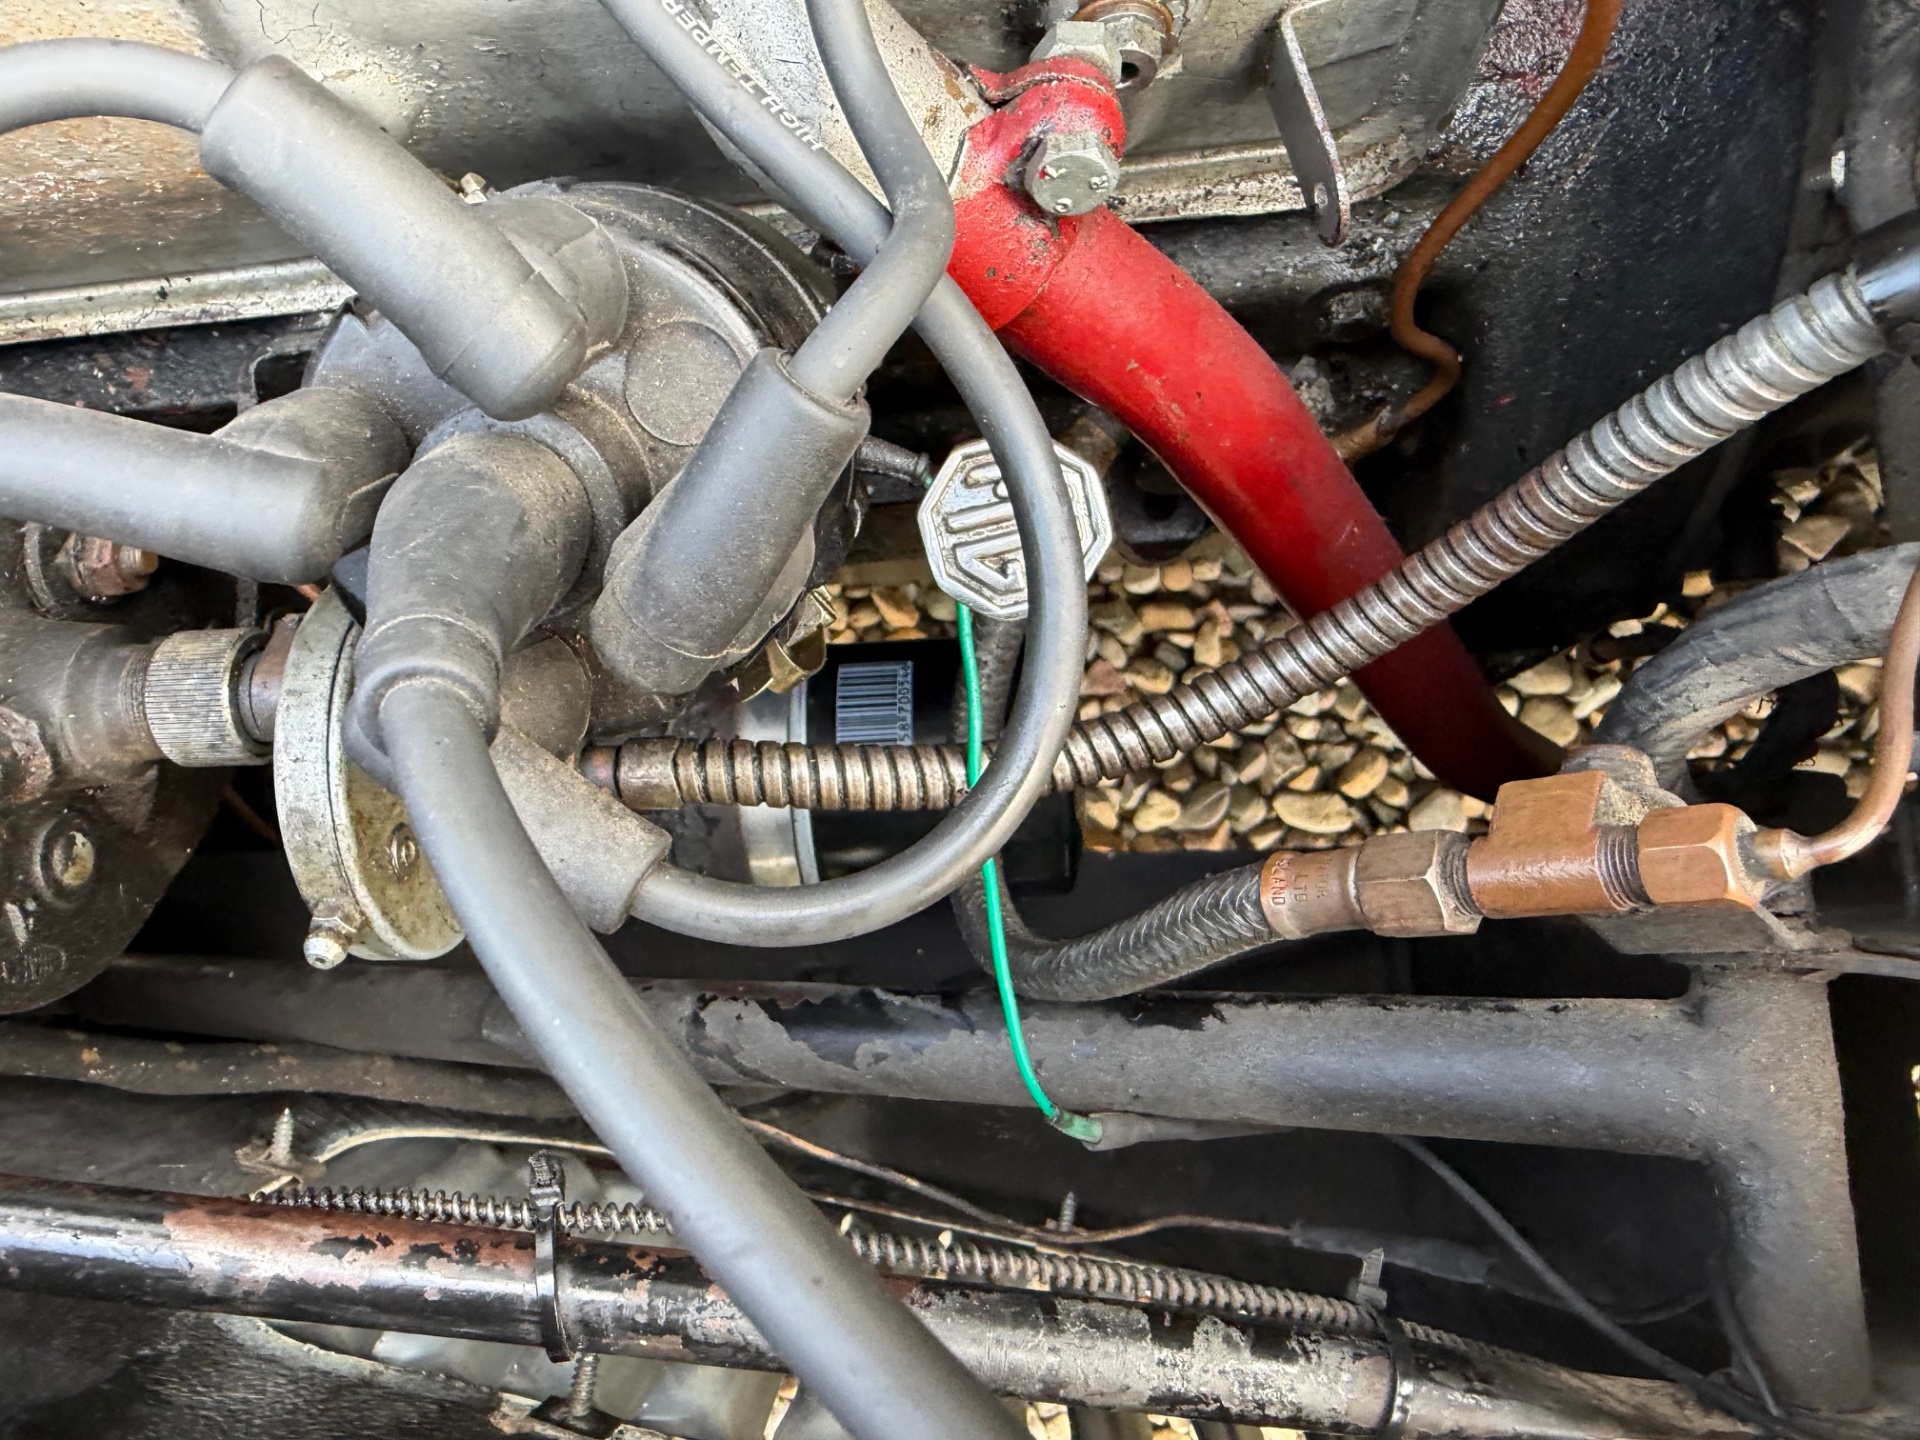
HT leads: why original specification matters
Ignition leads are not just cosmetic. There is a genuine technical distinction between the two common types, and getting it wrong on a period car causes trouble that is very hard to trace.
- Original-specification copper-core leads use a solid or stranded copper conductor with effectively no resistance. All the coil's spark energy reaches the plug. Where interference suppression is needed, for a period radio, for example, it is provided by resistive plug caps or a small in-line suppressor, not by the lead itself.
- Modern silicone leads use a carbon or graphite fibre core with several kilo-ohms of built-in resistance along their length. This is exactly right on cars with electronic ignition modules, some of which can be damaged by the low-impedance load of copper-core cable. It is not a like-for-like substitute on a points-and-coil system with period fittings.
The practical trap sits at the ends of the leads. Period Lucas distributor caps and plug tops use screw-in "acorn" terminals: a threaded brass fitting that you literally screw into the cable so its thread bites into the conductor. That works with a copper wire; it destroys a carbon-fibre core, which shatters into a high-resistance mess of broken fibres a millimetre or two long. The lead reads open-circuit on a meter or, worse, works well enough on the bench that it goes back on the car and produces a random misfire weeks or months later that nobody can find.
If your distributor cap and plug tops use screw-in acorn fittings, fit copper-core leads. It is one of the rare cases in old-car ownership where originality and function point the same way.
Comparison, calibrated Lucas versus uncalibrated reproduction
| Aspect | Correctly rebuilt Lucas | Low-grade uncalibrated reproduction |
|---|---|---|
| Advance curve | Bench-tested to a documented curve for your engine | Whatever weights and springs were fitted; often unrelated to the car |
| Vacuum unit | Calibrated capsule with the right pull-off characteristic | Generic capsule; may not open at the right vacuum or at all |
| Build quality | Reground shaft, new bushes, clean cam, fresh weights and springs | Nominal tolerances; often stiff, gritty or sloppy from new |
| Consumables | Sold with, or matched to, known-quality points, condenser and rotor | Frequently supplied with low-grade parts that fail early |
| On-the-road symptoms | Cool running, clean pull to the redline, good economy | Hot running, flat performance, poor economy, misdiagnosed for years |
| Cost of ownership | Higher up front, low over the life of the car | Low up front, high over years of chasing symptoms elsewhere |
What to do about it
There are four sensible options, in rough order of preference:
- Have your original distributor professionally rebuilt and recurved. The best answer for most owners. Worn bushes, weights, springs, cam and vacuum unit are renewed and the unit is calibrated and bench-tested to a documented advance curve for your engine. A good rebuilder will supply a printed curve graph with the finished unit and a guarantee.
- Buy a properly rebuilt, correctly calibrated exchange unit from a recognised specialist. This is a good option where your own core is missing or beyond repair.
- A quality electronic conversion or programmable distributor. Worth considering for reliability and starting behaviour, but with a crucial caveat: electronic ignition eliminates points wear; it does not fix a worn distributor or a wrong advance curve. Fitting electronics to a bad distributor simply makes a wrong curve more consistent. Convert on top of good mechanicals, not instead of them.
- Avoid the cheapest unbranded reproduction sold purely on price and part number. There are decent budget options; the cheapest listing on the auction site is almost never one of them.
See the Parts & Specialists page for distributor rebuilding specialists, and consider having the car properly set up on a rolling road once the correct parts are fitted, AG Classic Car Tuning is one specialist who does that kind of work on T-Series cars.
How to tell if yours is suspect, checklist
- The car overheats but the cooling system is demonstrably sound: clean radiator, correct thermostat, flowing water pump, no combustion gases in the coolant.
- Performance is flat and economy is disappointing on a car that otherwise appears healthy.
- Timing looks correct at idle, but the engine runs hot and gutless out on the road.
- A strobe check shows little or no advance as revs rise, or the reading is wildly unstable and jumps around.
- The distributor carries no identification, or numbers that do not match your car and engine.
- The mechanical advance feels stiff, gritty or reluctant, or the rotor does not spring back cleanly when twisted against the springs.
- Points burn or need adjustment more often than they should, or you have had recurring rotor or condenser failures.
- The definitive test: have the distributor bench-tested against a known correct advance curve by a specialist rebuilder. It is the only way to be certain the internals match the engine.
Set your own timing, interactive guide
Use this tool to check what your engine should be doing at a given rpm. Pick your engine and drag the slider; the panel shows the expected advance and a step-by-step of what to verify with a strobe, feeler gauge and vacuum pipe.
Interactive tool
Spark timing, set your engine and RPM
Pick your engine and dial an RPM. You will see the expected advance at that speed and a step-by-step of what to check with a strobe, feeler gauge, and vacuum pipe.
Expected advance
7°BTDC
Vacuum pipe disconnected & plugged
Operating zone
Idle
Full mechanical advance at 3200 rpm
Distributor
Lucas DM2 40897A (vacuum + centrifugal)
- Static
- 4–6° BTDC
- Strobe at idle
- 7° BTDC at 600 rpm (vacuum disconnected)
- Total advance
- 30° BTDC total (mechanical only)
- Points / plug gap
- 0.014–0.016 in (0.36–0.40 mm) / 0.022 in (0.56 mm)
- Fuel
- 97 RON preferred; hardened valve seats recommended on unleaded.
1. Set the points gap first
Before anything else, set the contact-breaker gap to 0.014–0.016 in (0.36–0.40 mm) at maximum cam lift. Timing means nothing if dwell drifts as the points wear. Rotate the engine by hand until the heel of the moving contact sits on the peak of a cam lobe, then feel the gap with a clean feeler blade.
2. Confirm static timing
Turn number-one piston to 4–6° BTDC on the compression stroke, pointer against the flywheel or crank pulley notch. With the ignition on, the points should be just breaking. Verify with a 12 V bulb across the points, not by eye.
3. Strobe at 600 rpm, expect about 7° BTDC
At idle (600 rpm) the strobe mark should sit at 7° BTDC at 600 rpm (vacuum disconnected). If the mark is more advanced than this at idle, the centrifugal weights are stuck open, a common failure on cheap reproduction units.
4. Check the vacuum capsule separately
Reconnect the vacuum pipe and suck on it gently by mouth (or with a hand vacuum pump). The timing mark should jump 8–10° further advanced and hold. A capsule that will not hold vacuum, or a mark that does not move, means a split diaphragm, replace the capsule, do not ignore it.
5. Road test on load
Warm the engine, then in top gear at about 30 mph open the throttle wide. There should be no pinking (a light metallic tinkle from the head). If you hear pinking, retard 2° and retest. On 97 RON super unleaded the target is a clean pull with no detonation.
6. Cross-check the plugs after a run
After 20 miles of mixed running, pull a plug and read the insulator. A light tan colour confirms the mixture and timing are in the right window. Chalk-white means too lean or too advanced; sooty black means rich or retarded. Reset plug gap to 0.022 in (0.56 mm) on refit.
Note Vacuum advance adds up to a further 10° at cruise, check it separately by suck-test at the capsule. A stiff or leaking capsule is common and shows as flat cruise economy.
The figures are the factory targets. If your car is a long way from these values at any point on the range, the distributor is the first thing to prove, not the cooling system.
Frequently asked questions
Why does my tuned XPAG misfire under load?
Misfire under load is almost always ignition on an XPAG, not carburation. Check the plug gaps and colour first, sooty plugs mean the mixture is rich or the ignition is weak; white or blistered electrodes mean it is lean. Then confirm the points gap and dwell, the rotor arm and condenser, and that the coil is producing a strong blue spark. On a Stage 1 or Stage 2 engine, also check the static timing has not crept too far advanced; a pinking engine often feels like a misfire and will eventually burn a hole in a piston. Finally, balance the SUs again, an unbalanced pair can leave one cylinder running lean enough to misfire at wide throttle.
Why does my XPAG hesitate when I open the throttle?
Hesitation on pick-up is the classic SU weak-mixture signal. The piston in the carburettor is lifting too fast for the fuel to follow, usually because the jet is set too lean, the needle is worn, or the dashpot oil is too thin. On a Stage 1 car with standard 1.25 in SUs, start by checking the damper oil level and weight, SAE 20 is correct, and that the piston rises smoothly without sticking. Then richen each jet by one flat, test again, and confirm with the lifting-pin method. On a Stage 2 car with 1.5 in SUs the same rule applies, but the needle profile is more critical; a worn or mismatched needle will hesitate whatever the jet setting.
Why is my tuned XPAG hard to start when hot?
Hot-starting problems on a tuned XPAG usually come down to fuel evaporation or flooding. A free-flow exhaust and a hot engine bay can boil the fuel in the float chamber and carburettor body, making the mixture over-rich. Check the float level first, it should be at the workshop-manual figure, not simply "looks about right". If the car starts cold but floods hot, try easing the throttle fully open while cranking to clear the cylinders, then start with no throttle. On Stage 2 engines with raised compression the starter also has to turn a higher-compression engine against a hot block; a good battery and clean earth straps matter more than on a standard car.
My Stage 1 XPAG pings on acceleration, what do I adjust?
Pinking means the combustion pressure peak is arriving too early. On a Stage 1 tune running on modern 95 RON petrol, retard the static timing by one or two degrees first and re-test on a warm day under load. If it still pings, check that someone has not already advanced the distributor beyond the Stage 1 figure, verify the compression ratio has not been raised by a previous skim, and make sure you are not running the engine below about 1,500 rpm in a high gear. Do not simply richen the mixture to mask pinking, it helps a little, but the real fix is timing or compression.
After fitting 1.5 in SUs my Stage 2 idle hunts, what is wrong?
An uneven idle after a Stage 2 carburettor swap is usually one of three things: the throttle spindles are worn and drawing air, the inlet manifold is not matched to the head ports and is causing reversion pulses, or the jets and needles are not centred and matched. Re-check the manifold face and gasket match, recentre both jets with the piston-drop test, and confirm both carburettors are drawing the same airflow at idle. Stage 2 engines with a fast-road cam also have less manifold vacuum at idle, so the idle speed may need to be set a little higher than standard, typically 800–900 rpm, to keep the SUs stable.
How do I know if my tune is running lean?
Lean running shows up as a flat spot under load, popping in the exhaust on the overrun, white or grey spark-plug insulators, and elevated exhaust-manifold colour after a run. On a rolling road the air/fuel ratio will read above 14.5:1 at cruise or above 13.0:1 at wide throttle. Fix it by richening the mixture a flat at a time on the SUs, checking for air leaks around the manifold and balance pipe, and confirming the fuel pump is delivering at least 1.5 psi at the carbs. Lean mixture is the fastest way to burn exhaust valves on a tuned XPAG, so do not ignore it.
Related reading
- Keeping the MG T-Series Cool: A Practical Guide to Cooling & Overheating
- Ignition and Charging on the MG T-Series
- The Complete MG T-Series Tune-Up
- Parts & Specialists directory
:::callout Have your own distributor story? Share it with the archive, photos, before/after notes and the numbers stamped on your unit help other owners diagnose faster. :::
More questions
Can a distributor cause overheating?
Yes, and it is one of the most commonly missed causes on a classic. If the distributor fails to advance the ignition properly as revs rise, combustion continues past the point the exhaust valve opens. Very hot gas is dumped into the exhaust port, temperatures around the head and manifold rise sharply, and the water jacket has to absorb heat it was never designed to take. The driver sees overheating and a loss of power at the same time.
What is an advance curve and why does it matter?
The advance curve is the graph of how many degrees the distributor advances the spark against engine rpm. It is set by the bob-weights, springs and cam profile inside the distributor and was developed for one specific engine's compression, combustion chamber, camshaft and fuel. Two distributors can share a part number and fit perfectly yet deliver very different amounts of advance at the same rpm. A distributor that fits is not the same as a distributor that is right.
Are cheap reproduction distributors any good?
Quality varies enormously by manufacturer, not by country. Specialist rebuilders warn that in many low-grade reproductions the advance curve and vacuum characteristics bear no real relationship to the engine the unit is sold for. They look convincing, carry the right part number and bolt straight in, which is precisely why the fault is so hard to spot. Some reputable suppliers do a decent job; the problem is the uncalibrated copy sold as an exact equivalent when its internals are nothing of the sort.
Why do modern rotor arms keep failing?
Two documented issues. First, some modern mouldings use a mix with higher carbon-black content, which makes the body slightly conductive and lets the spark track to earth through the rotor rather than reaching the plug. Second, on many copies the rivet securing the brass inlay is slightly longer than the original and sits too close to the spring clip beneath the cap. Owners have been stranded with rotor arms only a few miles old. Buy from a reputable specialist and carry a spare.
Should I use copper or silicone HT leads on a classic?
On a points-ignition car with period screw-in acorn terminals, use copper-core leads. The threaded terminals require a copper cable to bite into; screwing them into a carbon-core silicone lead damages the fragile core and produces a misfire that appears weeks later and is hard to trace. Silicone leads are correct for electronic ignition systems that need the built-in resistance.
Will electronic ignition fix my distributor?
No. Electronic ignition removes points wear and can give a slightly hotter, steadier spark, but it does not correct a worn distributor or a wrong advance curve. Fitting electronics to a bad distributor simply makes a wrong curve more consistent. Sort the mechanical distributor first, then decide whether to convert.